
DBP38: Chronicles of Ghost Town | DBP_38.WAD
Doomer Boards
AUGER;ZENITH was always going to be a tough act to follow. The thirty-seventh entry in the now bi-monthly Doomer Boards Projects mapping series was a smash hit, earning a runner-up award at the 2021 Cacowards and helping bridge the gap between the anarchic Doomer Boards and the more staid (and progressive-minded) Doomworld. It was a monument to creativity, almost completely changing the industrial sci-fantasy of Doom to something out of Blade Runner, showing how you could wrangle the ancient idTech 1 engine into something sort of resembling an imagined real life. How do you even follow up on that?

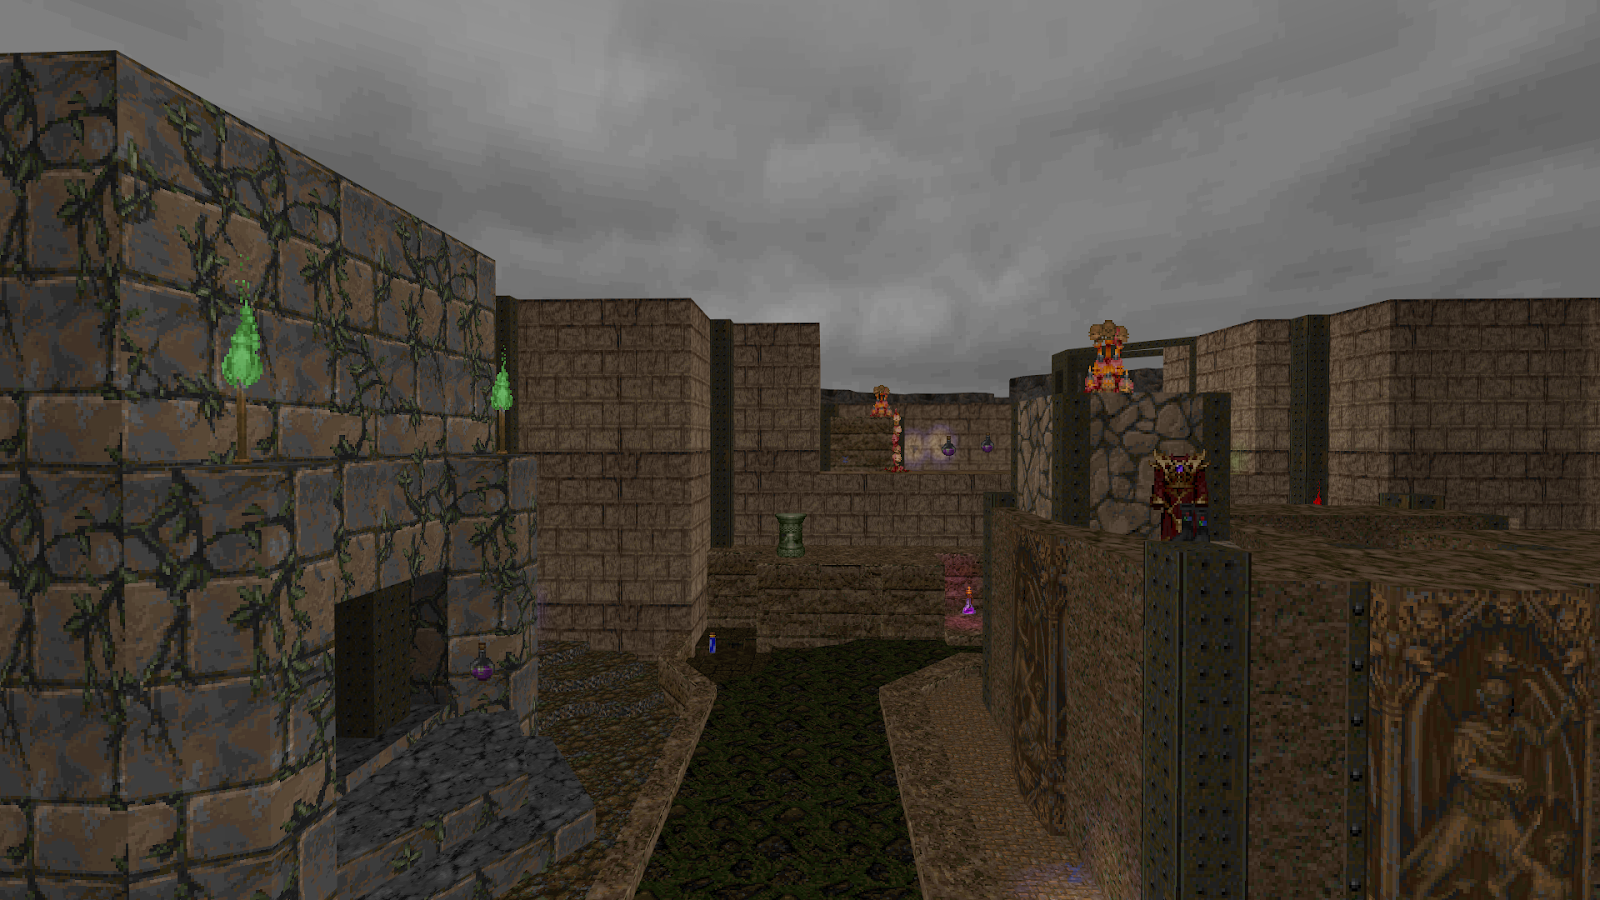
You kind of can’t, as DBP38: Chronicles of Ghost Town proves. Conceived from the start as an aesthetic tribute to “Ghost Town,” the fifth map from The Plutonia Experiment, and the notorious first and so-far only episode of Mordeth, it also includes elements of Quake, Hexen (there’s even a Hexen II MIDI in the soundtrack) and Plutonia in general. On some level a lot of these aesthetics tend to blur together as it is — Plutonia’s architectural conceits often seemed to anticipate those of Quake’s, which released five days after Final Doom — but as you’ll see in Chronicles, sometimes the distinction between them is quite obvious. Much of the mapset doesn’t even really seem to adhere to the overall concepts implied by “Ghost Town” and Mordeth; I can only name two, maybe three maps that really capture that moody, dark medieval town aesthetic. Compare, say, MAP11, “Ghastly Domain” with Mordeth’s “Babel by Gaslight;” while superficially similar I think Mordeth exhibits a clearer focus on an idea. Many of Chronicles’ maps eschew this stuff completely and go more for an abstract Quake or Plutonia-style map. That’s not to say this is necessarily a bad thing, but it kind of gets away from what the initial prompt was suggesting, yeah?
(Disclaimer: I played through this using the excellent Walpurgis , playing as the Magister with Dimensional Instability mode turned on and set to fantasy monsters only, as well as Flashlight++ 8.5 with the Lamp preset, but I watched a vanilla playthrough on Youtube to get a better sense of how the wad plays on its own. Dimensional Instability is pretty chaotic, though it does give the game a bit of a roguelike vibe with its completely random assortment of enemies.)

Chronicles of Ghost Town has no story to speak of. Zippo. None. It doesn’t even have intermission text screens after the sixth and eleventh maps. The closest we get to any sort of story is the level stats screen, which depicts a becloaked Doomguy on the outskirts of some kind of industrialized medieval town. For my purposes — given that I was playing with Walpurgis — I chose to ignore this.
As is often the case with the Doomer Boards Projects, Chronicles was headed up by Jon “40oz” Vail, of UAC Ultra fame; aside from himself, the large crew of mappers included matador, MattFright, kvsari, Sergey “SilverMiner” Burow, A2Rob, Ilya “joe-ilya” Lazarev, JadingTsunami, Chainie, Fryuko, nxGangrel, LunchLunch, Death Bear, and dmdr, all told contributing a whopping seventeen maps, which is pretty good considering that most DBPs up to that point — barring AUGER;ZENITH and a couple of Christmas-themed releases — tend to average around eight to ten maps. (Judging by how many people stuck around to map for Chronicles, AUGER;ZENITH clearly served as a useful recruiting tool… at least until DBP39: Carnage Oasis rolled around and the map count dropped down to like, twelve again.)
Honestly, as is so often the case with DBP — and indeed, these kind of regular, deadline-enforced mapping projects in general — is the results are kind of a mixed bag. Maps I really liked: “Libris Noctis,” “Ghastly Domain,” and pretty much everything from “Valley of Stone” on (in spite of that map’s flaws.) Maps I think the pack could have done without: “Parichmakher,” “The Other Side,” “Dripping Tears.” None of these maps are truly bad — even “Valley of Stone” has a lot of redeeming qualities in spite of its issues. But some of them just don’t really fit with the theme — or perhaps the problem is that the mapset is kind of all over the place in terms of theme and balance.

Where Chronicles is most promising, I think, is in the hands of matador, 40oz and LunchLunch. The first map, matador’s “Libre Noctis,” is quite beautiful, with the peaceful, secluded little house that you start in and the nearby town, seemingly abandoned by humanity but occupied by monsters. It’s not much of a town — a clutch of boarded-up buildings, a dock and a cemetery in back — but it’s something, nice-looking and atmospheric, perhaps the truest successor in this pack to the aesthetic established by Mordeth. 40oz’s contributions are classically 40oz, nice-looking and kinda twisty, especially “Phantom Manor” with its browner take on Quake 1’s “Wizard’s Manse,” though I appreciated his gestures towards the medieval town aesthetic in “Ghastly Domain” as well. His “Gideon’s Creek” is a more naturalistic take, which itself remains true to the Mordeth vibe but also feels a little like Hexen. And speaking of Hexen, while nxGangrel’s “Valley of Stone” proved unpopular, and certainly is far from perfect, I find it a beautiful map, up there with “Libre Noctis” in terms of really tying together a solid aesthetic that reminds me a lot of the “Shadow Wood” hub from Hexen. LunchLunch followed up “Valley of Stone” with “Apply some Pressure,” which I think is where the wad really comes into its own, gameplay-wise, setting the tone for the rest of the set and having a strong look of its own.
Chronicles of Ghost Town probably isn’t going to wow a lot of people who discovered the DBP series via AUGER;ZENITH. It’s slower, it’s browner, it’s smaller, it’s more thematically incoherent. But it’s still a good time, and if nothing else, the Mordeth look is iconic enough by itself that I appreciate even an uneven attempt to reproduce it.

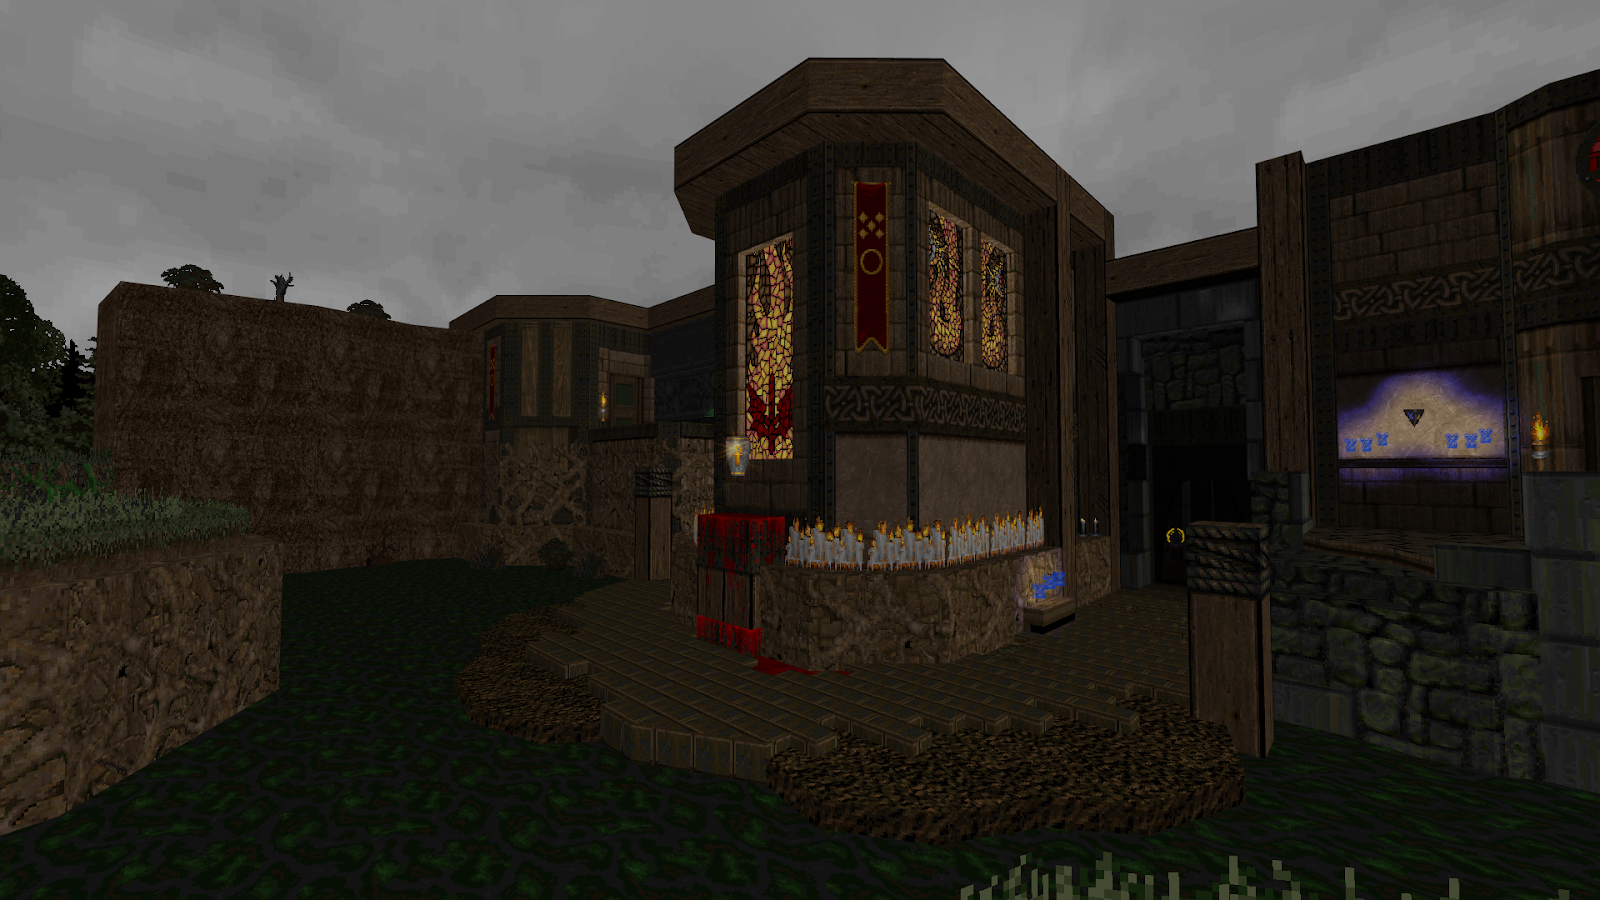
 MAP01: Libris Noctis
matador
 MAP02: Damned Keep Rampage
MattFright
 MAP03: Cleft
kvsari
 MAP04: Phantom Manor
Jon "40oz" Vail
 MAP05: Parichmakher
Sergey "SilverMiner" Burow
 MAP06: Chaos Crypt
A2Rob
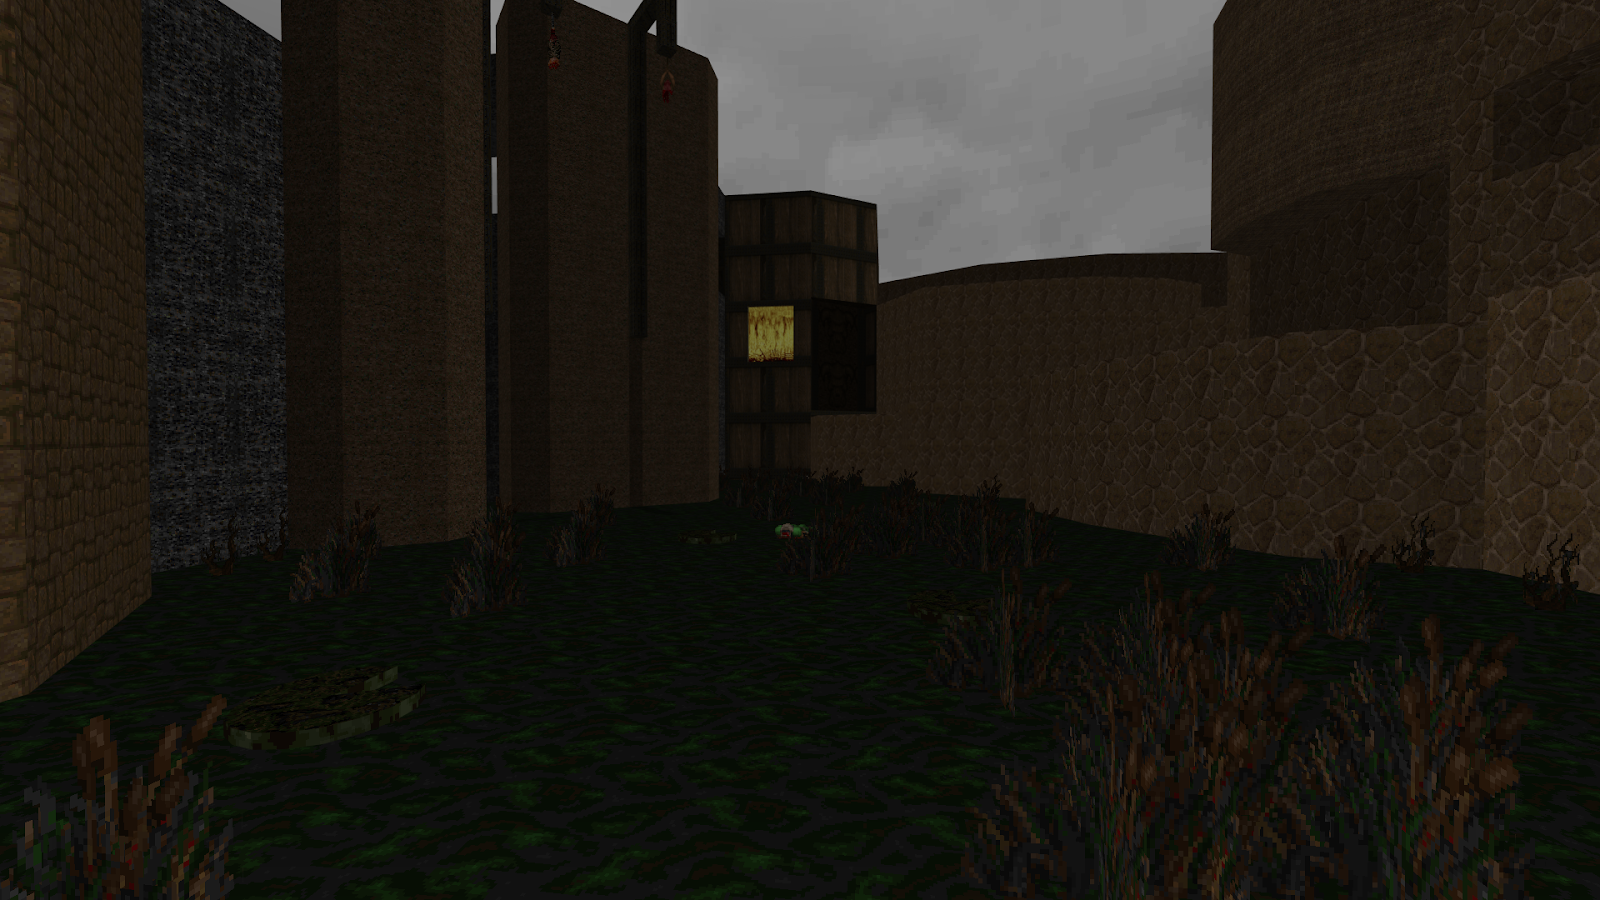 MAP07: Bog Standard
Ilya "joe-ilya" Lazarev
 MAP08: The Other Side
JadingTsunami
 MAP09: Dripping Tears
Chainie
 MAP10: Sacrificial Grounds
Fryuko

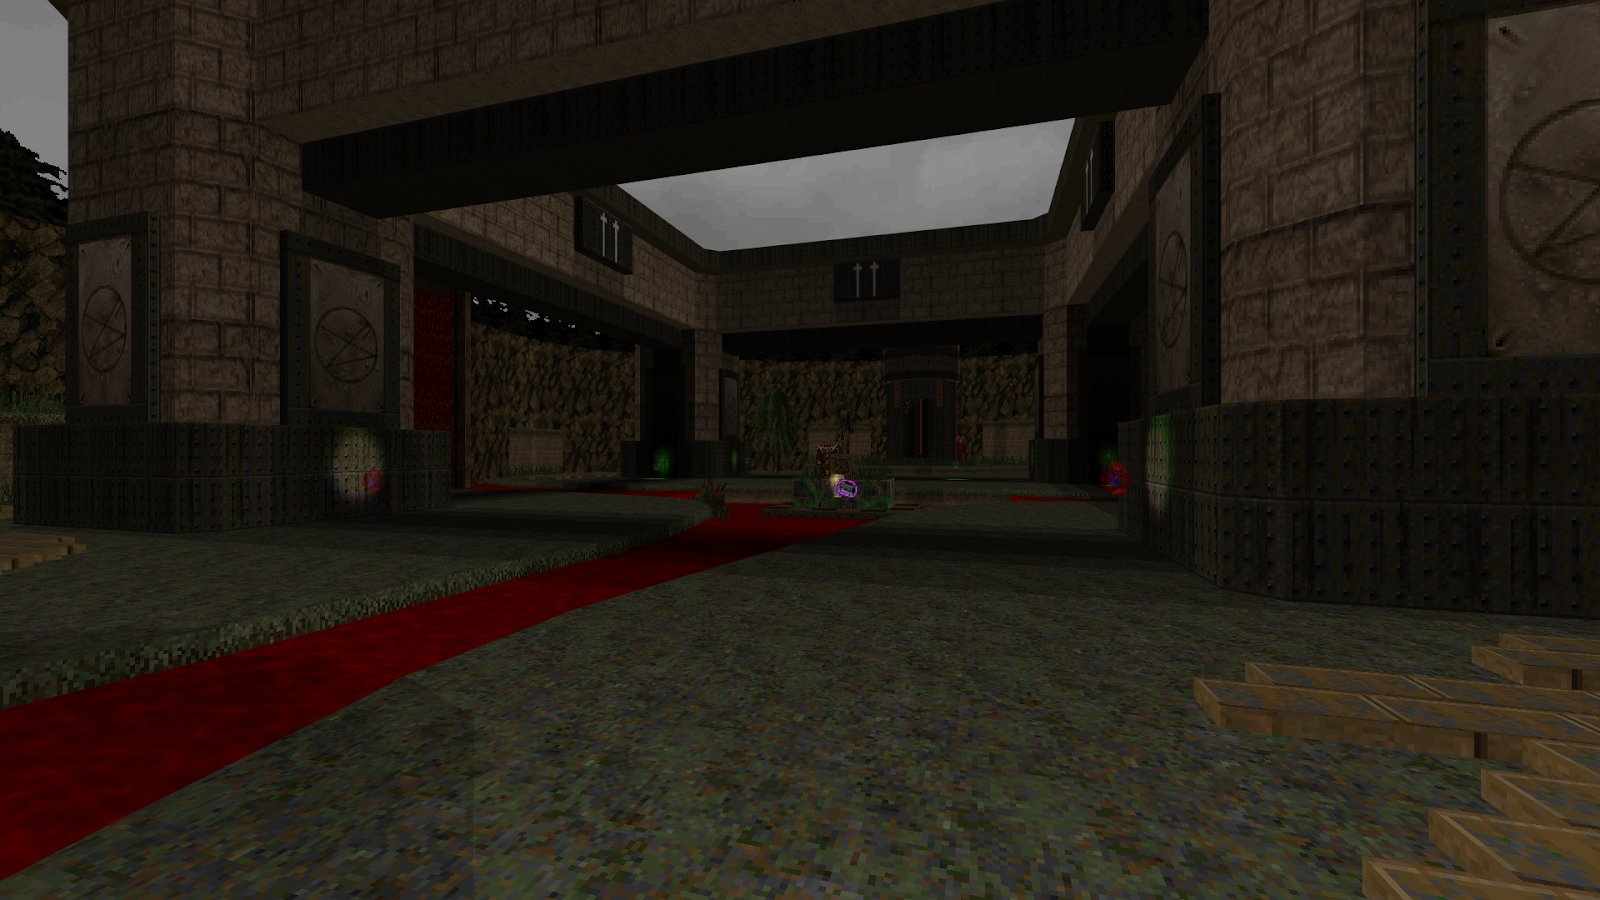
MAP11: Ghastly Domain
40oz

MAP12: Gideon's Creek
40oz
MAP13: Valley of Stone
nxGangrel
 MAP14: Apply Some Pressure
LunchLunch
 MAP15: Whispers of the Dead
Death Bear
 MAP16: Vile Excision
dmdr
 MAP17: Chronicles of Ghost Town
40oz
The Doomer Boards Projects
| DBP01 | DBP02 | DBP03 | DBP04 | DBP05 | DBP06 |
| DBP07 | DBP08 | DBP09 | DBP10 | DBP11 | DBP12 |
| DBP13 | DBP14 | DBP15 | DBP16 | DBP17 | DBP18 |
| DBP19 | DBP20 | DBP21 | DBP22 | DBP23 | DBP24 |
| DBP25 | DBP26 | DBP27 | DBP28 | DBP29 | DBP30 |
| DBP31 | DBP32 | DBP33 | DBP34 | DBP35 | DBP36 |
| DBP37 | DBP38 | DBP39 | DBP40 | DBP41 | DBP42 |
| DBP43 | DBP44 | DBP45 | DBP46 | DBP47 | DBP48 |
| DBP49 | DBP50 | DBP51 | DBP52 | DBP53 | DBP54 |
| DBP55 | DBP56 | DBP57 | DBP58 | DBP59 | DBP60 |
| DBP61 | DBP62 | DBP63 | DBP64 | DBP65 | DBP66 |
| DBP67 | DBP68 | DBP69 | DBP70 | DBP71 | DBP72 |
| DBP73 | DBP74 | DBP75 | DBP76 | DBP77 | DBP78 |
| DBP79 | DBP80 | DBP81 | DBP82 | DBP83 | DBP84 |
| DBP85 | DBP86 | DBP87 | DBP88 | DBP89 | DBP90 |


No comments:
Post a Comment