
Heretic: Shadow of the Serpent Riders (1996) | HERETIC.WAD
Raven Software

Shadow of the Serpent Riders, as this retail package would come to be called, was conceived obviously to bring a previously mail-order title to store shelves, but also, at least as far as Heretic's lead level designer Michael Raymond-Judy explains it, to "fill a project gap" -- that is, to keep busy -- while waiting for contracts for Hexen to work themselves out. Quake was still a year or so out, and there was demand from the community for more Heretic, and so, following id Software's lead with The Ultimate Doom, Michael and Eric Biessman (and possibly a few others -- we have no definite idea of who did what across either version of the game) took on the duties of mapping out the two new episodes.

While Michael said in an interview that he and Eric shared mapping duties, often trading maps back and forth in a collaborative effort, we can make fairly good guesses as to which parts are his, given his background in medieval history. What's more notable about the episodes is that they're notoriously difficult, particularly the fourth episode, "The Ossuary," which is famous for its brutally tough opening levels. Episode five, "The Stagnant Demesne," also gets you off to a rough start, but it's a little more manageable. Both, however, will kick your ass and kick your ass until about halfway through, at which point you'll be better equipped and the difficulty smooths itself out.
Outside of the new episodes, Shadow of the Serpent Riders doesn't really add much to the base game. There's no new art, no new monsters, no new music (unless you're using the midi pack.) It's still the same old Heretic we know and mostly love, warts and all. And that's okay, really; more Heretic is always a good thing. Like The Ultimate Doom, it's now considered the definitive version of the game and is the one available on digital storefronts like Steam.

If you like Heretic, you'll like the new episodes. If you're not too enamored of Heretic, then the new content won't do anything to make you like it more. If you're looking for more difficult gameplay, though, Shadows is almost certainly right up your alley.


Episode Four: The Ossuary
 E4M1: Catafalque
Ohhh my god. "Catafalque" is as infamous as Ultimate Doom's one-two punch of "Hell Beneath"/"Perfect Hatred," a nasty, nasty opening level that starves you of equipment until it deems absolutely necessary while throwing far more at you than your meagre equipment could ever hope to deal with normally, including a maulotaur literally right outside the opening area. A single Tome of Power will help smoothen things some (though you might just use it for the ophidian nest you find it in) but it's the horde of iron liches that had me tearing my hair out, not least because they swarmed the hallway to the exit making it difficult to actually get out of this crazy place. E4M2: Blockhouse
Compared to "Catafalque" this is a lot more manageable. It's a pretty simple blocky fortress design. You start out on an upper wall, with a moat between it and the inner keep. The sheer amount of enemy sometimes feels a little slaughtery, especially as you'll helpfully be handed some more powerful gear such as the Phoenix Rod, but in terms of actual encounter design it's probably more closely compared to Plutonia. The central keep with its line-trigger elevator puzzle is at least a bit of a breather. E4M3: Ambulatory
An abstract puzzle map that starts you off in a crusher maze that kinda works like the raising platform bridge in Doom's second episode. Nearby is a huge lava pit with a series of bridges that you have to systematically raise via switches in locked rooms near the crusher maze. Lots of enemies running about, but it's pretty straightforward with the biggest threats being some iron liches and a single maulotaur in a secret area. Fun level. E4M4: Sepulcher
A nicely non-linear little dungeon, you'll have a central area and two wings. It's mostly a lot of golems, but there are undead warriors, gargoyles and Disciples to worry about too. The actual sepulcher is a nicely creepy little place, but the real treat is what happens when you find the secret northern half of the map that is completely optional (but you'll want to explore it for the secret exit.) E4M9: Mausoleum
Ugh. Short version is that this is one great big blocky network of corridors; just about everything in the map is contained in the rooms that these corridors border. The halls are full of golems and other bullshit, which you've got to clear before you can even think about trying to figure out how to get into the rooms. Which walls actually open is easy enough to figure out, but most of them won't open to your touch -- you'll have to find switches and other mechanisms of opening them, so you're going to be humping walls until one eventually opens up. From there it's a series of rooms with various traps, ambushes, gimmicks, and other crap, wash rinse repeat until you can open up the golden door to the north. E4M5: Great Stair
Starts out simple enough, just working your way around a multi-tiered little dungeon complex with a lot of weredragons to deal with. A couple of sticking points would be the room with all the ophidians looking down into it, the nearby gold key iron lich ambush, or the crush of Disciples as you try to get back up the titular Stair (an area that reminds me a little of the starting area in Episode 2's secret level, "The Glacier.")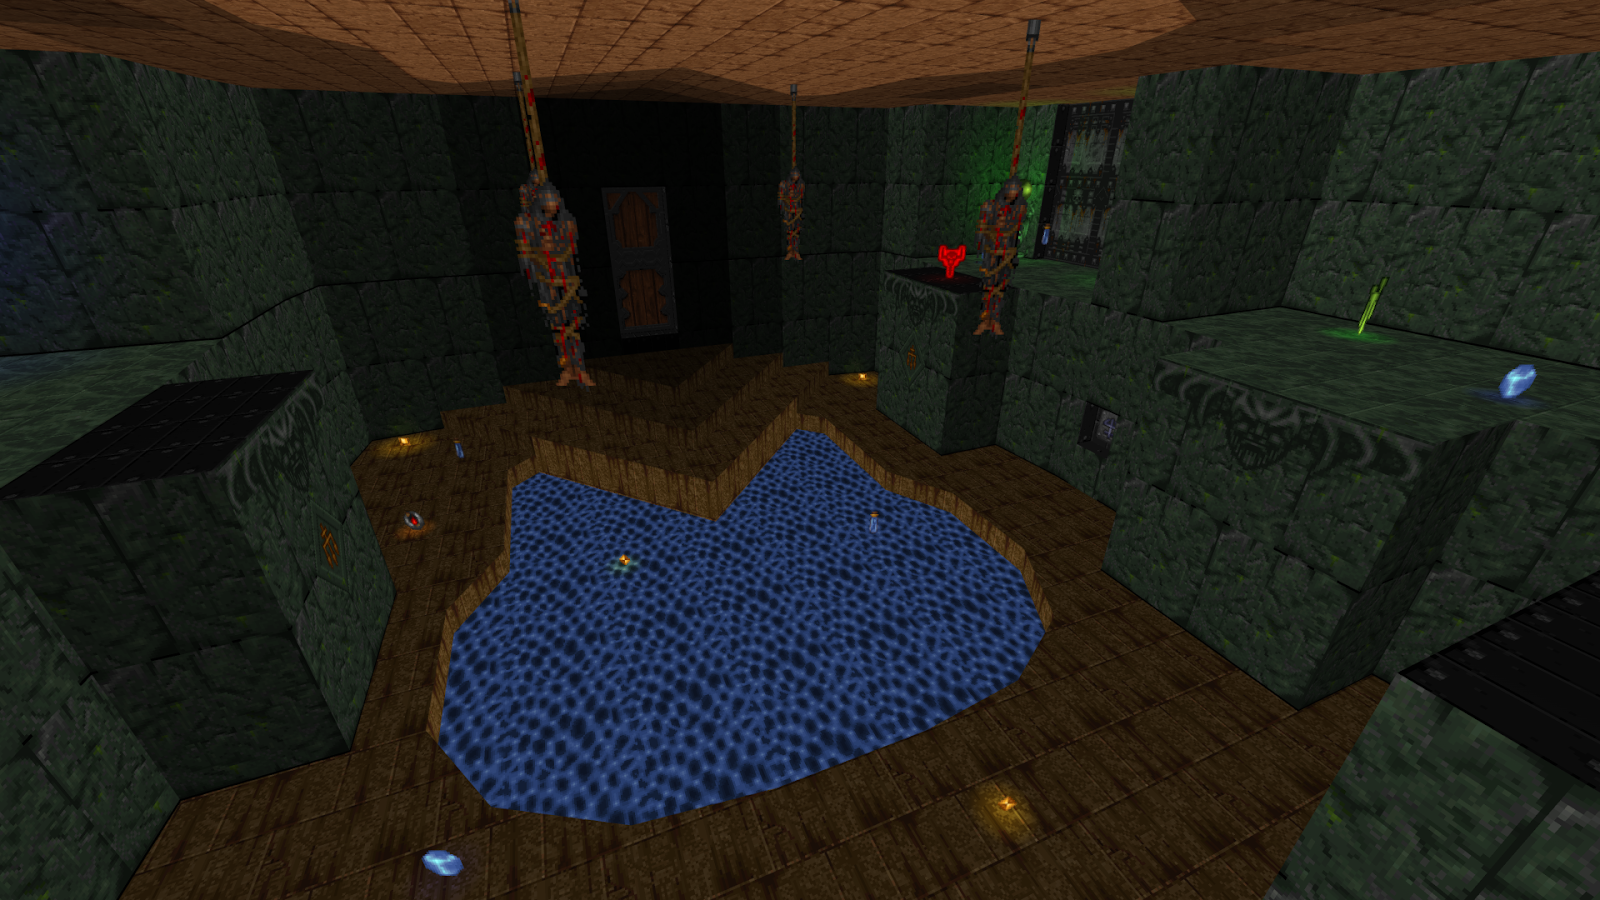 E4M6: Halls of the Apostate
A small, tight little map consisting of a series of chambers. You'll mostly be fighting sabreclaws and Disciples here with gargoyle support, so resistance shouldn't be too fierce even with the odd iron lich. Structurally it's as straightforward as can be -- ride a lift out of the hub room, find a key, unlock its corresponding door, two of which are also in the hub room. A couple of fun parts such as raising a narrow walkway over a pit of lava, across which a horde of sabreclaws charge at you waiting to be cut down like lambs to the slaughter.  E4M7: Ramparts of Perdition
Starts off hectic as soon as you fire off a shot, as you're in a fairly open area with lots of fliers, mostly gargoyles. Generally it's split between three areas: the central area, a sort of castle keep kinda deal surrounded by lava sporting a gallows and a fountain room to the south; the eastern area, a series of increasingly-higher rooms culminating in the blue and gold doors, beyond which is the final encounter in a tower surrounded by more lava; and finally the western throne room and raven chamber, the latter of which is so named due to the large raven symbol on the floor (that hurts if you step on it!) Pretty epic level all told, but its progression is a bit murky as a lot of times you'll be searching for linedefs that lower platforms or other things, not all of which are in the same room as the linedef you just tripped! E4M8: Shattered Bridge
Simple enough boss level. The titular bridge can be easily crossed by straferunning; otherwise you'll have to shoot the pillars on the far side to raise parts of the path. However you get across, you'll then have to futz about trying to find the gold key, which requires more linedef nonsense as you poke around in the mazes to either side of the central path. The final fight with a whole mess of iron liches is trivial with an invulnerability ring and the Phoenix Rod, and with that you can put Heretic's toughest episode to bed.Episode Five: The Stagnant Demesne
 E5M1: Ochre Cliffs
While "Catafalque" starts off tough and remains so for the duration, "Ochre Cliffs" has a sharp shock of an opener and eventually calms down a bit. The toughest fight is probably the crossbow room, as you're drastically underpowered and stuck in tight quarters with a lot of undead knights and other bullshit. There's also the disciple ambush once you've grabbed the blue key, and if you try to check out the side areas by the lava pit you unleash a whole mess of trouble with iron liches and a maulotaur. Yikes! E5M2: Rapids
As the name suggests, this one is almost entirely set in flowing waters, making keeping your footing a little difficult. There's also a whole lot of weredragons around to make your life miserable. I had a lot of fun with this map until it came time to figure out how to get to the exit, because it's not obvious; supposedly, some stairs are supposed to rise, but they never did for me and I couldn't figure out the mechanism. Luckily, you can find a Wings of Wrath in a secret and so I used that instead. Of course, the exit turned out to be fake, but that's Heretic for ya.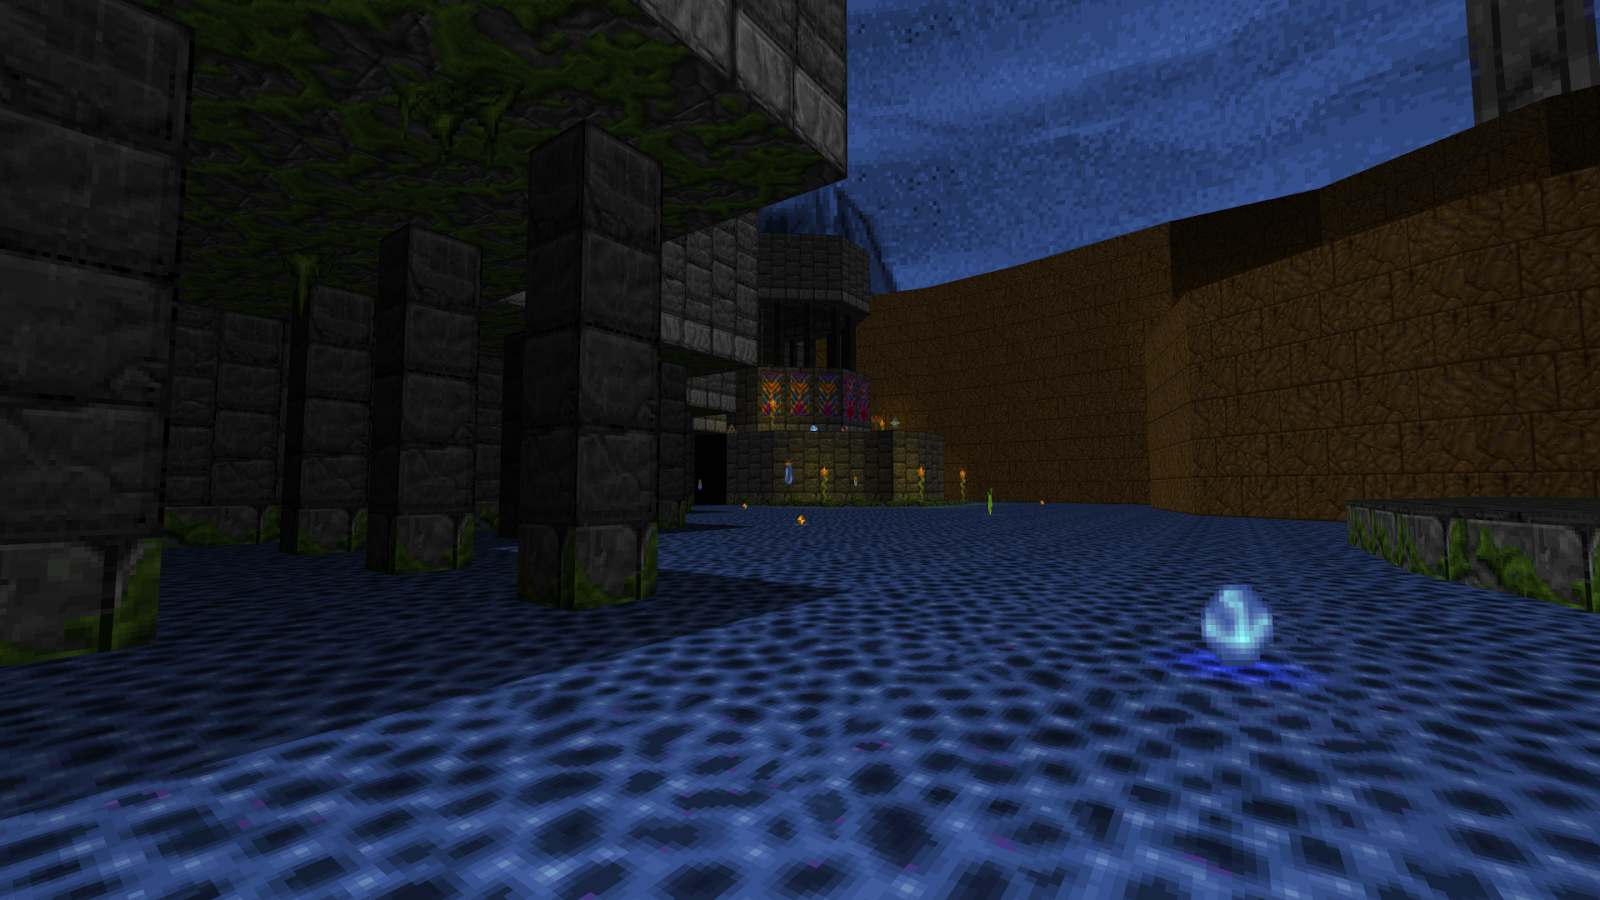 E5M3: Quay
This one wouldn't be out of place in the first episode, ignoring the presence of boss- and non-shareware enemies roaming around. The actual waterfront is just the opening area; much of the map is set in and around an indoor boardwalk that stretches from the entrance steps to four doors, each of which are locked by either the green or gold key. The two side areas have their own conceits going on with their own hazards, like the lava pit the green key is suspended over, or the nest of ophidians guarding the switches that unlock the way to the exit. I like that the way to the secret exit is in sight for most of the map until you find the switch to raise the bars.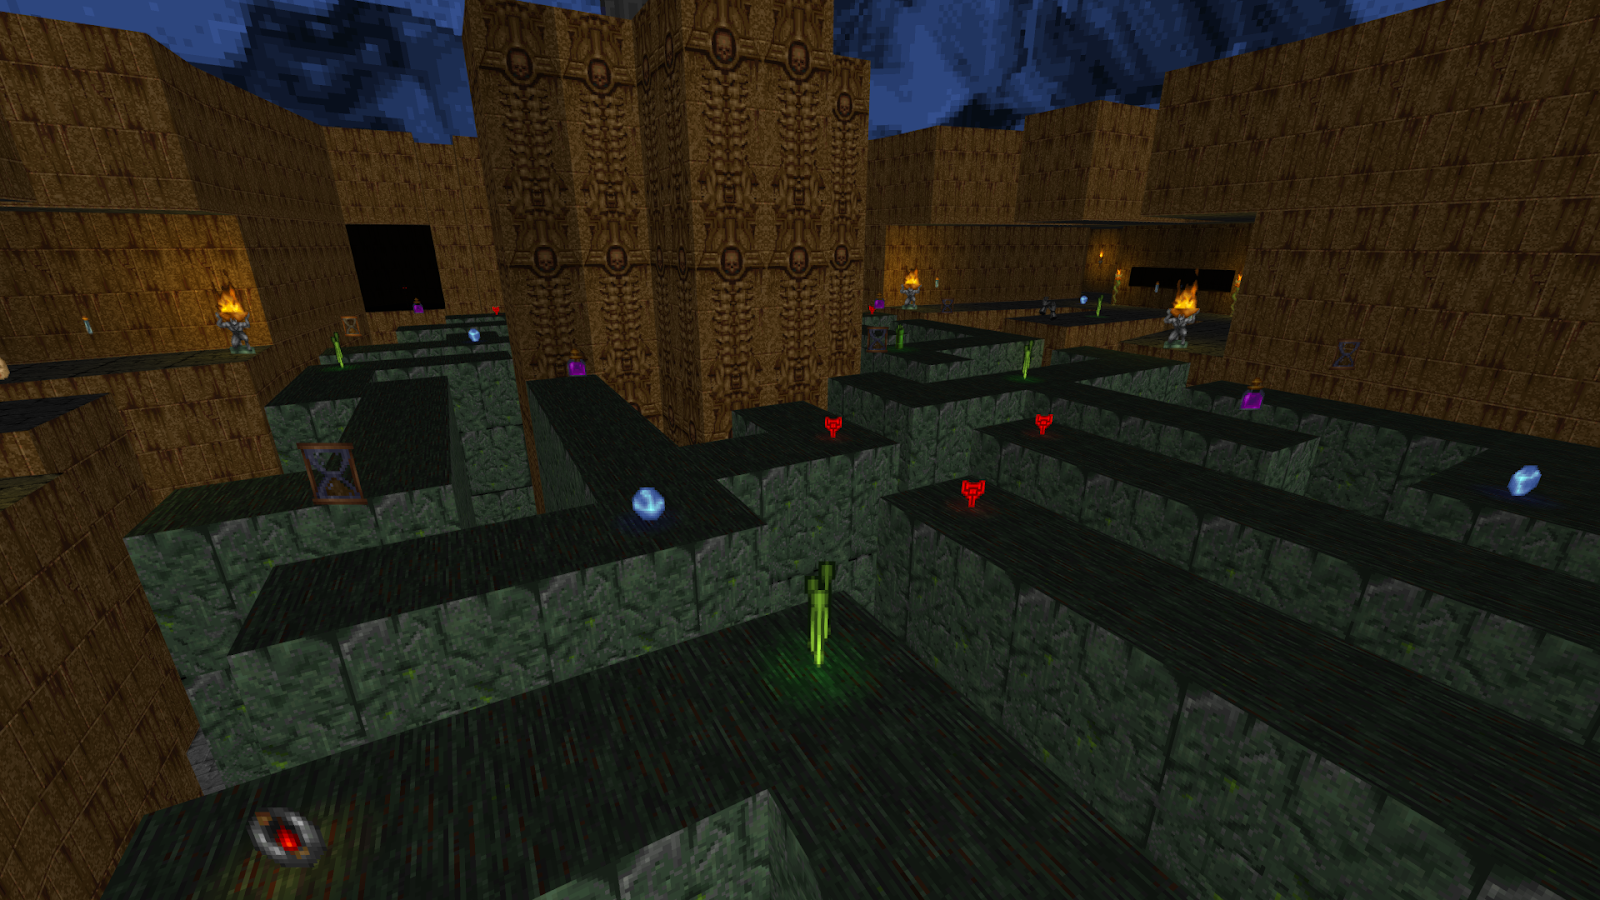 E5M9: Skein of D'Sparil
As the name suggests, this map is dominated by a convoluted maze that initially doesn't seem to have a way out of until you notice the trident sigil on one of the walls. Of course, once you've gotten into the side areas it doesn't get any less confounding, with narrow passages filled with sabreclaws and ophidians. The map is pretty symmetrical in nature, though the far side chambers that house keys have different setups despite being aesthetically similar.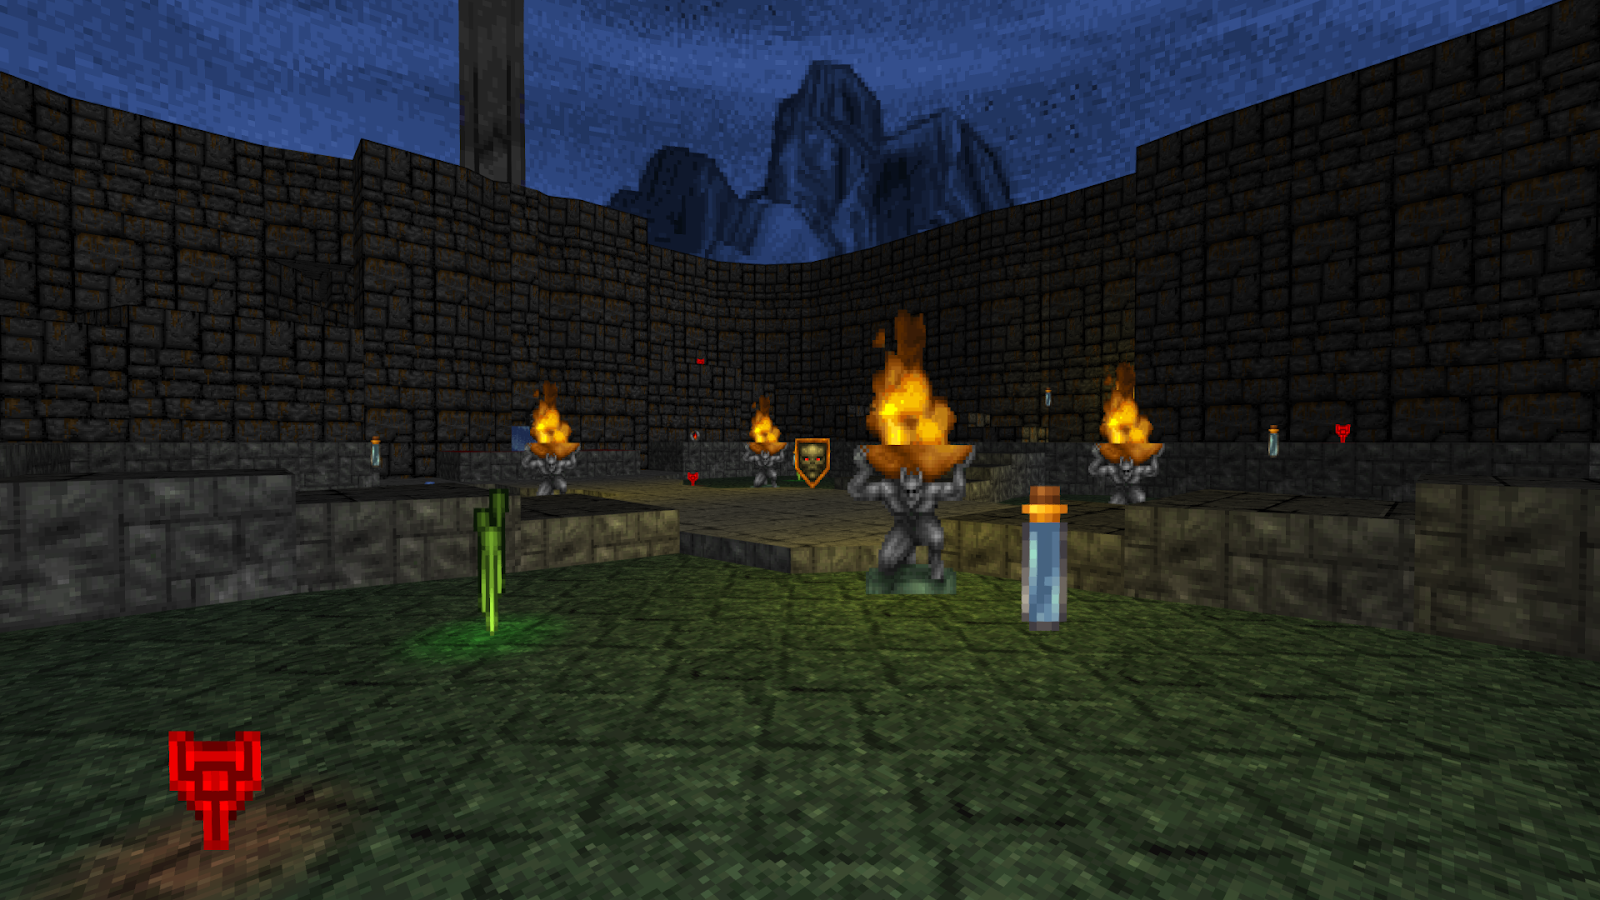 E5M4: Courtyard
In spite of the name, most of this map is indoors in a sprawling castle complex, complete with a throne room. It's pretty standard, with some interesting setpiece fights like the gold key room and the surprise maulotaur in the throne room. The courtyard proper is a mess of nitrogolem ghosts with strong wind effects to make things worse, and once you grab the shield in the middle more will join the party. Fun map.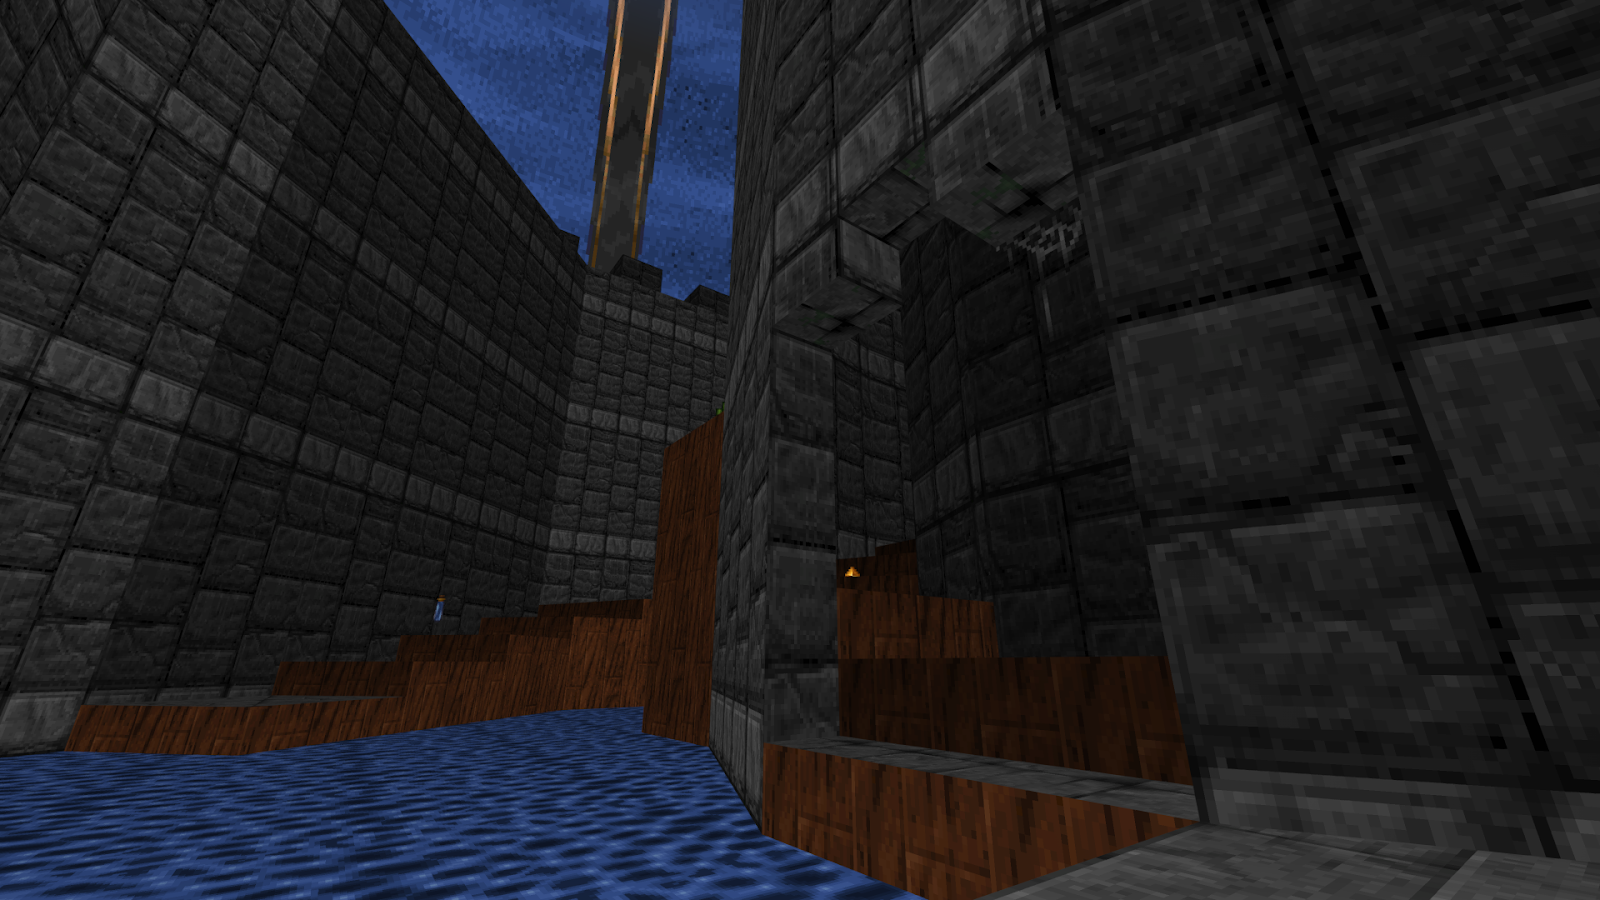 E5M5: Hydratyr
Continuing with the vaguely aquatic theme, we're presented with a tower in the midst of a flooded plain. On three sides are different fortifications, with the northern area notable for being a large lava pit with a walkway down the middle presenting an interesting combat scenario where you have to manage your footing while dealing with a lot of enemies. Fun map. E5M6: Colonnade
This one's a little unusual for Heretic given its titular large corridor lined with columns that divides the level. It's also one of the most densely packed levels in the game, bordering on slaughter as you have to cut your way through hordes of golems. The western half isn't too convoluted until you get into the yellow key area at which point it's not totally clear on how to get out; the eastern half, meanwhile, is a bit confusing until you figure out what switch in the room full of pillars does what. Grabbing the green key of course gets you a surprise iron lich coming through the stained glass window, an ambush that caught me napping.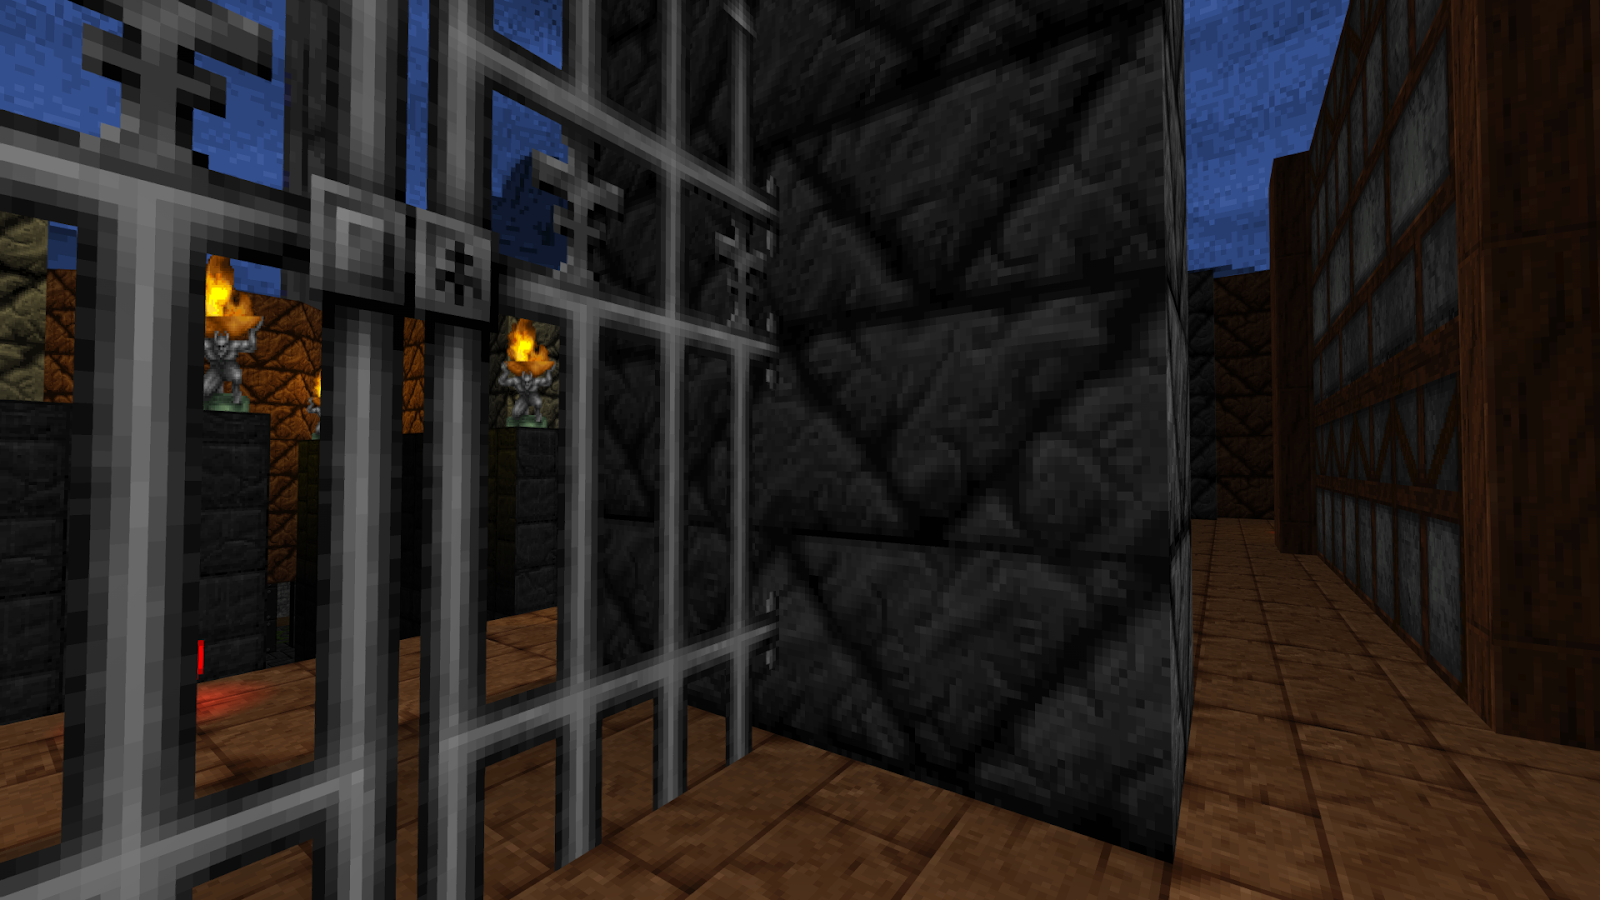 E5M7: Foetid Manse
This one's cool. A sprawling fortified manor with a moat, split into three buildings and a nearby watery tunnel installation. The hard part is figuring out what to do when you get to the central building, as to progress you need to shoot a wall to raise it and it's not clear that's what you're supposed to do. Get over that stumbling block and the rest comes easy, though there are a lot of snakemen and sabreclaws running about. The music track for the MIDI pack is great stuff, very worthy of such an atmospheric penultimate map. Probably my favorite level from the new episodes. E5M8: Field of Judgement
The final official level of Heretic (not counting the weird unlisted bonus episode) is a rather nondescript arena map. You start off in a vaguely spider-shaped chamber that dumps a bunch of gear and ammo on you. Use the Wings of Wrath to get onto the Trident sigil and the walls fall away to reveal between three to eight maulotaurs depending on difficulty. If you have an invincibility ring and a tome already on level start, then you can use the extras you pick up to make this fight relatively trivial, otherwise get ready to dodge a lot. Kind of disappointing as a last level, but what did you expect?-June<3
Riders on the storm, riders on the storm
Into this house we're born, into this world we're thrown
Like a dog without a bone, an actor out on loan
Riders on the stormPart of a series on Raven's fantasy games
Into this house we're born, into this world we're thrown
Like a dog without a bone, an actor out on loan
Riders on the storm
Part of a series on Raven's fantasy games
| Heretic | Shadow of the Serpent Riders |
| Hexen: Beyond Heretic | Deathkings of the Dark Citadel |
| Hexen II | Portal of Praevus |
| Heretic II | |
| Shadowcaster | |


No comments:
Post a Comment